

Look at those wierd walls going down the hall! Oh yes, we have challenges! also, don't ignore the beautiful green door...that is the front door. Another challenge we have is that our entry way is directly into our living room {our main living space}, but this IS about the woode stove...so, let's get back to it.

The first thing I did was paint the brick white (obviously, right?). I LOVE white brick! Our house in Milwaukee had a fireplace in the dining room and it was white brick from floor to ceiling. It's so urban and modern, but warm enough to still blend with the style of this tiny little craftsman house that we call ours now =)
This picture was taken before Christmas so the "merry Christmas" stocking hangers are not there anymore and niether are the votives. We are replacing the sconce lighting or maybe just spray painting the fixtures and replacing the glass  shades. Not sure yet.
After
{So Whaddya think?} I'm still planning on painting the gold around the door of the stove. The ceramic tile that eye sore sits on, well that is debatable. We aren't quite sure how we would get the tile out from under the stove. Suggestions?
The "H" I purchased from Michael's {after 50% off coupon $3}. Craft paint from Making Memories for paper. cream/beige. I decopauged the scrapbook paper. I loved how nuetral and organic is looked and it tied in with the green "nona" wreath next to it.
 The cool water color of branches in snow was from my mother-in-law. She gave it to Brian a while back and it was passed down from his uncle. It's very cool in person. I actually LOVE how simple and clean it is. Goes great with the green wreath and the green in the "H"
I made the green loop wreath from Emily Jones tutorial. Just one of the many tutorials I have actuall done from that girl. I had an empty black fram and this super cool black and white ribbon. =)
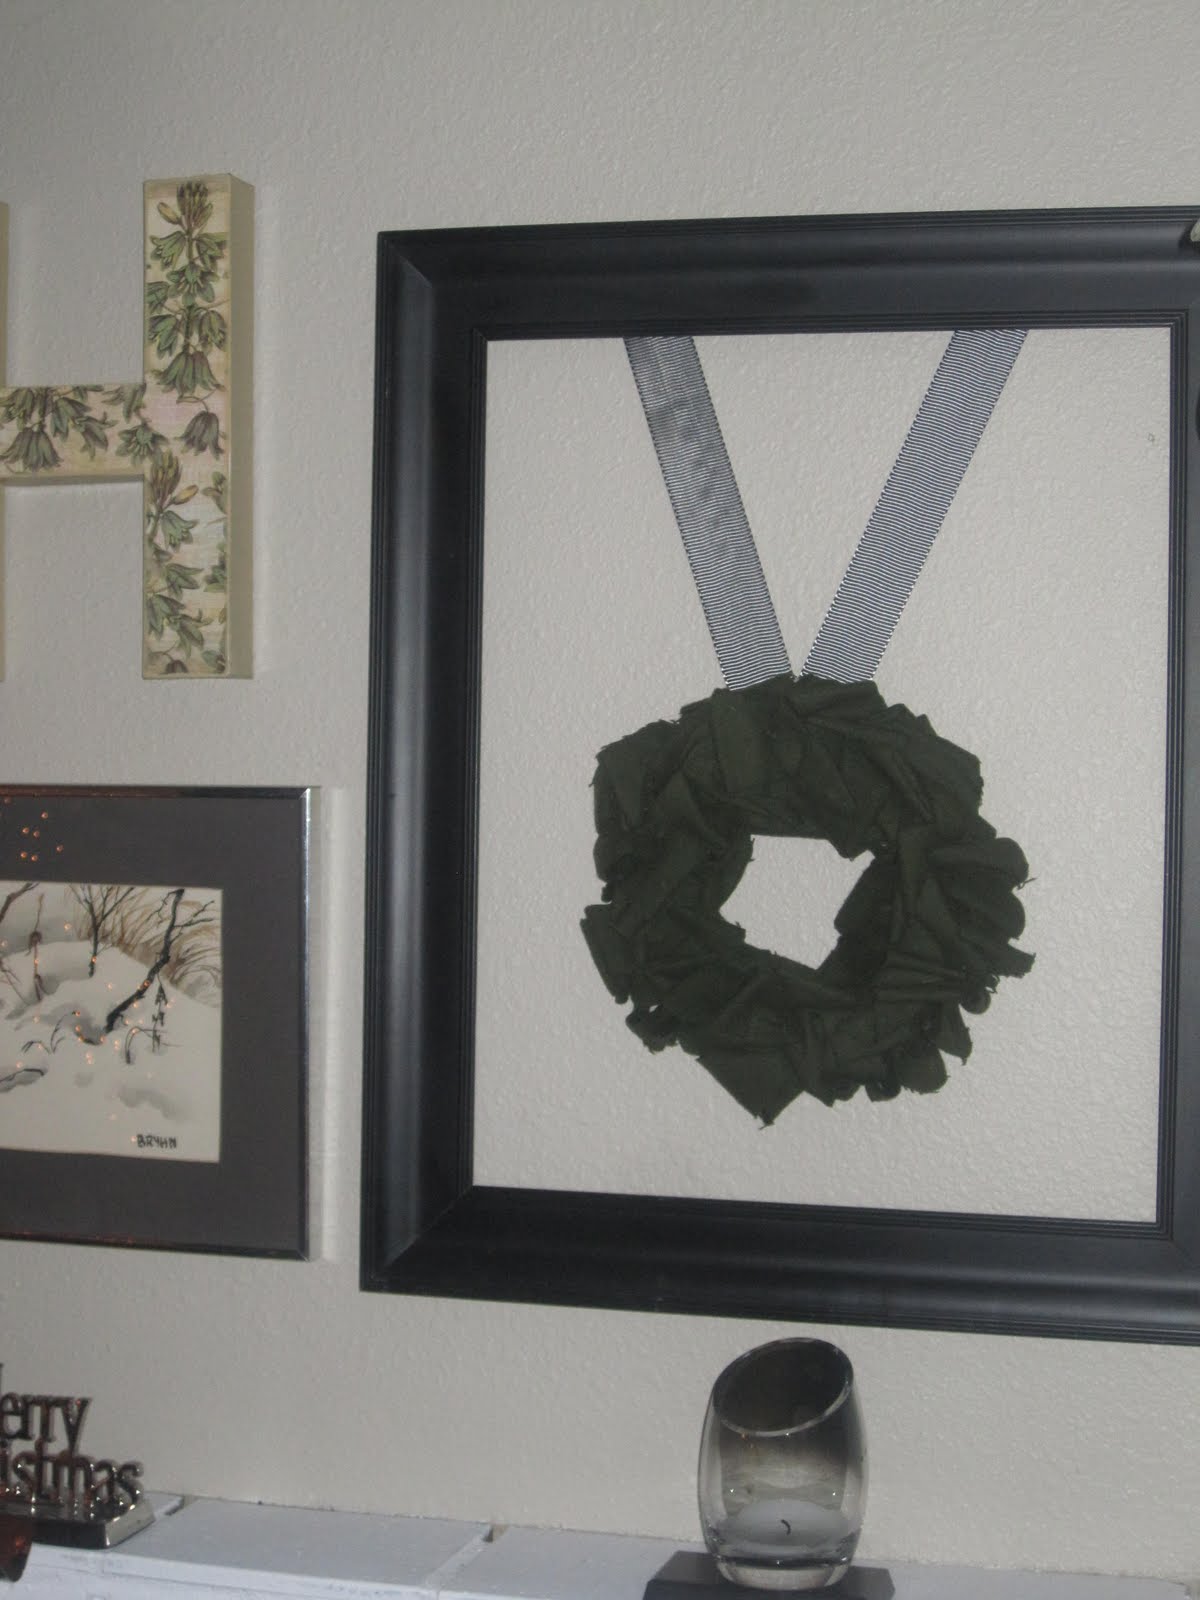
You can find the tutorial for this sweet little "Nona" loop wreath here:http://jonesdesigncompany.com/tutorial/nonna-wreath-tutorial/

Oh, and remember that ugly green door?
Not green anymore!!
Painted the front and back side a Black (Satin) and it literally changed the whole look of the front of the house! Some people were bummed the "green door on the street" was gone. Yeah, pretty sure I didn't feel bad about painting it black =) The coat hooks are from IKEA. Don't, I repeat don't buy these from Home Depot or Lowes. $20/each at those stores. $8 from Ikea and the finish is sooo much cooler from IKEA.
We are replacing the door handle =)
 Stay tuned. More to come on the Pantry rennovation =) I'm at a stopping point until my main squeeze (Brian) can make the trip to Lowes to get the lumber and base board/moulding for the that project. Have a great night and thanks for keeping up with me! =)
i like i like!
ReplyDeleteI think it looks great! I love reading about your adventures! :)
ReplyDeleteAs I said before...in person...LOVE the FP nook! Door looks much better. :O) Love seeing what you have done to your house.
ReplyDeleteI think it looks awesome! You did a great job. I would have totally changed the front door color too! Good job :)
ReplyDeleteGod I love that nook in your house! You are able to take a space that most people would waste and turn it into something so cute and cozy! I LOVE it!! Oh and I'm copying your coat hangers and stuff. I might copy more of the stuff behind the wood stove too...i'm crazy like that!
ReplyDelete