Monday, January 31, 2011

Split design personality...

Please tell me you all understand this! I struggle with finding my decorating/design style on a daily basis! I don't just mean, interior design, but it spills out in my wardrobe, crafting and music...*big sigh*
Should it even matter? I mean, I know the basics of design. I can mix styles and if it's done correctly, it's "classic" and "eclectic"...at least that is what they call it in the professional design world! I call it slight bi-polar mixed with A.D.D and wanting it all!

Since I'm an regular follower of some fab bloggers I'm on the computer hopping around a lot looking at their design tip, trick and projects, talking with my favorite crafting BF's about their styles and watching their projects and I just love it all. It doesn't help that I have multiple magazines in my mail box each week ranging from Ballard Designs, Pottery Barn, West Elm, Crate and Barrel and of course restoration hardware! I love them all! I feel like my head will explode some days! It's just that my TTB {teeny tiny budget} just doesn't allow me to get it all which is why I also love DIY projects and like to blog about what I like.

Here is what I like right now...you'll see what I mean about split personality.

Mmm, this room is sooo appealing to my love for modern design! That sofa is to die for. The arched back and the high arms. You already know I love me a white stone fireplace!! I just wish I could bring myself to step out on a limb and commit to a bright colored sofa like that! I'm so afraid that I would change my color palette and that color won't be in the plans...next week. =)


So, this is another living room { potterybarn }I would love to come home to every day!

{Don't get me wrong, I do love my living room furniture. Just ask my husband. He says he would go before my baby's butt soft leather sofa from Ethan Allen. There might be some truth to that, but don't tell him}

I love decorating with books and I am in love with one day having a living room where two sofas can face each other and not a tv. This room just calls my name to curl up with a glass of wine and read a book...or blog =)

This is definitely the color scheme of our living room right now. I do have a pottery barn area rug that I purchased almost 6 years ago and I still love everything about it. It's pretty much the only color "color" in our living room though. I love monochromatic neutrals...so relaxing. I just think I need to venture out and add some color. But this living room below is sooo me!

Ethan Allen design: Ok, one more totally unrealistic living room design for me! I mean, come on! This appeals to any girl {or some guys} glam side. This actually reminds me of my BFF, Stacey's condo in Seattle. Except she was brave enough to get beautiful blue sofa...not neutral like me =)
As far as dining rooms go, I feel like I'm pretty consistent in my design likes. How can you not just want to stay at this dining room table for hours after the meal? The white walls and the dark furniture are the perfect setting to change out your seasonal decor...or just when the wind blows and you love green instead of gray. My favorite architectural detail of this room would be the distressed wood floors. I would eat off those!


I also love the contemporary feel of this dining room...so not the style of our house, but I still love it.

A Couple of upholstered side chairs stashed in the corner of a dining room to pull up to the table for extra company? I say yes! The middle one is my fave!

I love lamp {lighting in general}!

Check this yummy little pendant light out! I want it hanging right over my little round dining room table to add a pop of color...

But this is what we have because I feel it's "safe"...
I do believe there is something to be said about decorating according to the architectural style of your home and what looks natural for that style, but sometimes I just don't care! We have a 35 year old tiny craftsman and I want our Master bedroom to be super sleek and sexy with a hint of craftsman and lots of comfort...so I'm trying to find a happy medium for the master bedroom. No pictures until it's done though...=) Here are a few rooms that have inspired me so far...

This neutral color scheme makes me happy and I LOVE gray!! We painted the walls in our room a very cool "cement gray" from Behr. I can't wait until that room is done!!

I want an upholstered headboard sooo bad I can taste it! We struggle with a room placement dilemma because our bed has to be under the window which means our headboard could not be this tall! I have already googled DIY upholstered headboards. I can't wait!!!

One can never have enough linens, but I still can't bring myself to commit to a gorgeous patterned duvet/comforter like the ones above because what if I want to change the color scheme...yes this is a pattern of thought for me!! I have had a white duvet for years because I can switch out accessory pillows and throws whenever I want. Maybe I just have a fear of commitment! haha...sorry Brian!

{i kid, he has me for the long run}

I'm not a huge fan of this bead, but what I like about this room is the clean, graphic pattern on the bedding. It's so fresh and comfortable looking. I would love this in Gray. Maybe I would commit to a pattern if I could find this exact one in Gray. That is until I actually find it and then I would make an accent pillow out of it knowing my fear of design commitment! haha
Oh, and this one...so very Glam. If I was single, I would have pink somewhere in my bedroom...probably still combined with gray though =)


Ok, so I am well aware that this chair from
westelm does not look comfy at all, but I feel like I have to have it! It's the coolest, funkiest thing EVER!!! It's like a piece of artwork! If Brian agreed to this chair I would promise to sit in it at least once a week! =)


Accessories are my love!!! I do not like clutter though so it's always hard for me to commit {there we go again} to even just the color of candle I want! I might need to seek help for this.

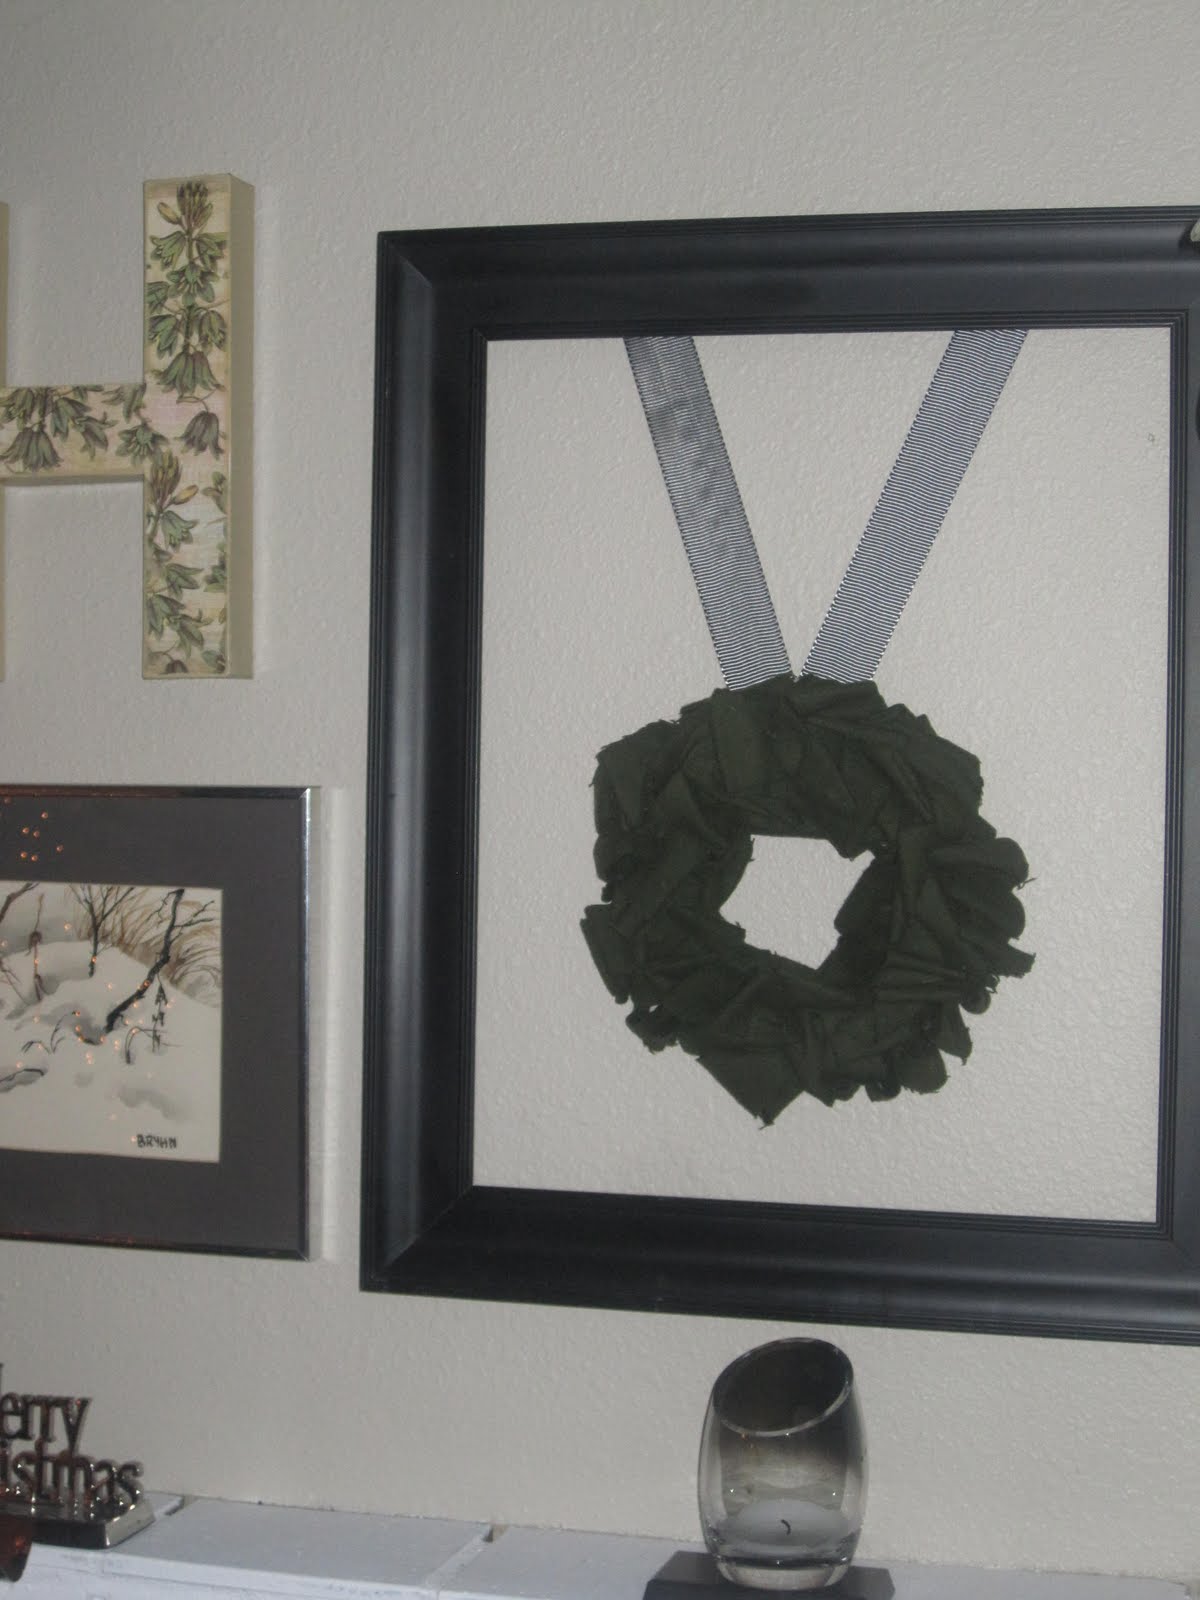
I love everything about this room. I found this picture here one of my fave bloggers. The white bed spread for a neutral background, the striped pillow with the splash of yellow for color and of course the upholstered headboard! Love, love, love. I have made 3 of the book page wreaths and am in love with that also.


I love mixing different shapes and styles of frames...especially when they are all tied together with the same color/finish. Soo classic and simple with the black and white sketches. I am also a big fan of hanging artwork in gallery style from floor to ceiling. Make a room look taller and allows for more of your fave pieces of art to get on the wall.

So, these vases from westelm are sooo awesome, don't you think? I think I have to have them! Or at least one of them. I DIG how fresh and clean they look and the texture of the honeycomb pattern. I'm thinking on the window sill of my kitchen...once it's finally finished.


If our Master bedroom was big enough right now to hold a sitting chair, it would be this one, in this color and this exact pillow!!! I of course would probably DIY the pillow, bu that chair...mmm, mmm, mmm! That smooth gray leather, the curved arms that go soo well with the straight lines on this chair! This Chair wants to call my casa her casa too!


Ok, hopefully you aren't completely bored out of your mind looking at my wish list! =) I just find inspiration from rooms like these and I hope you do too!

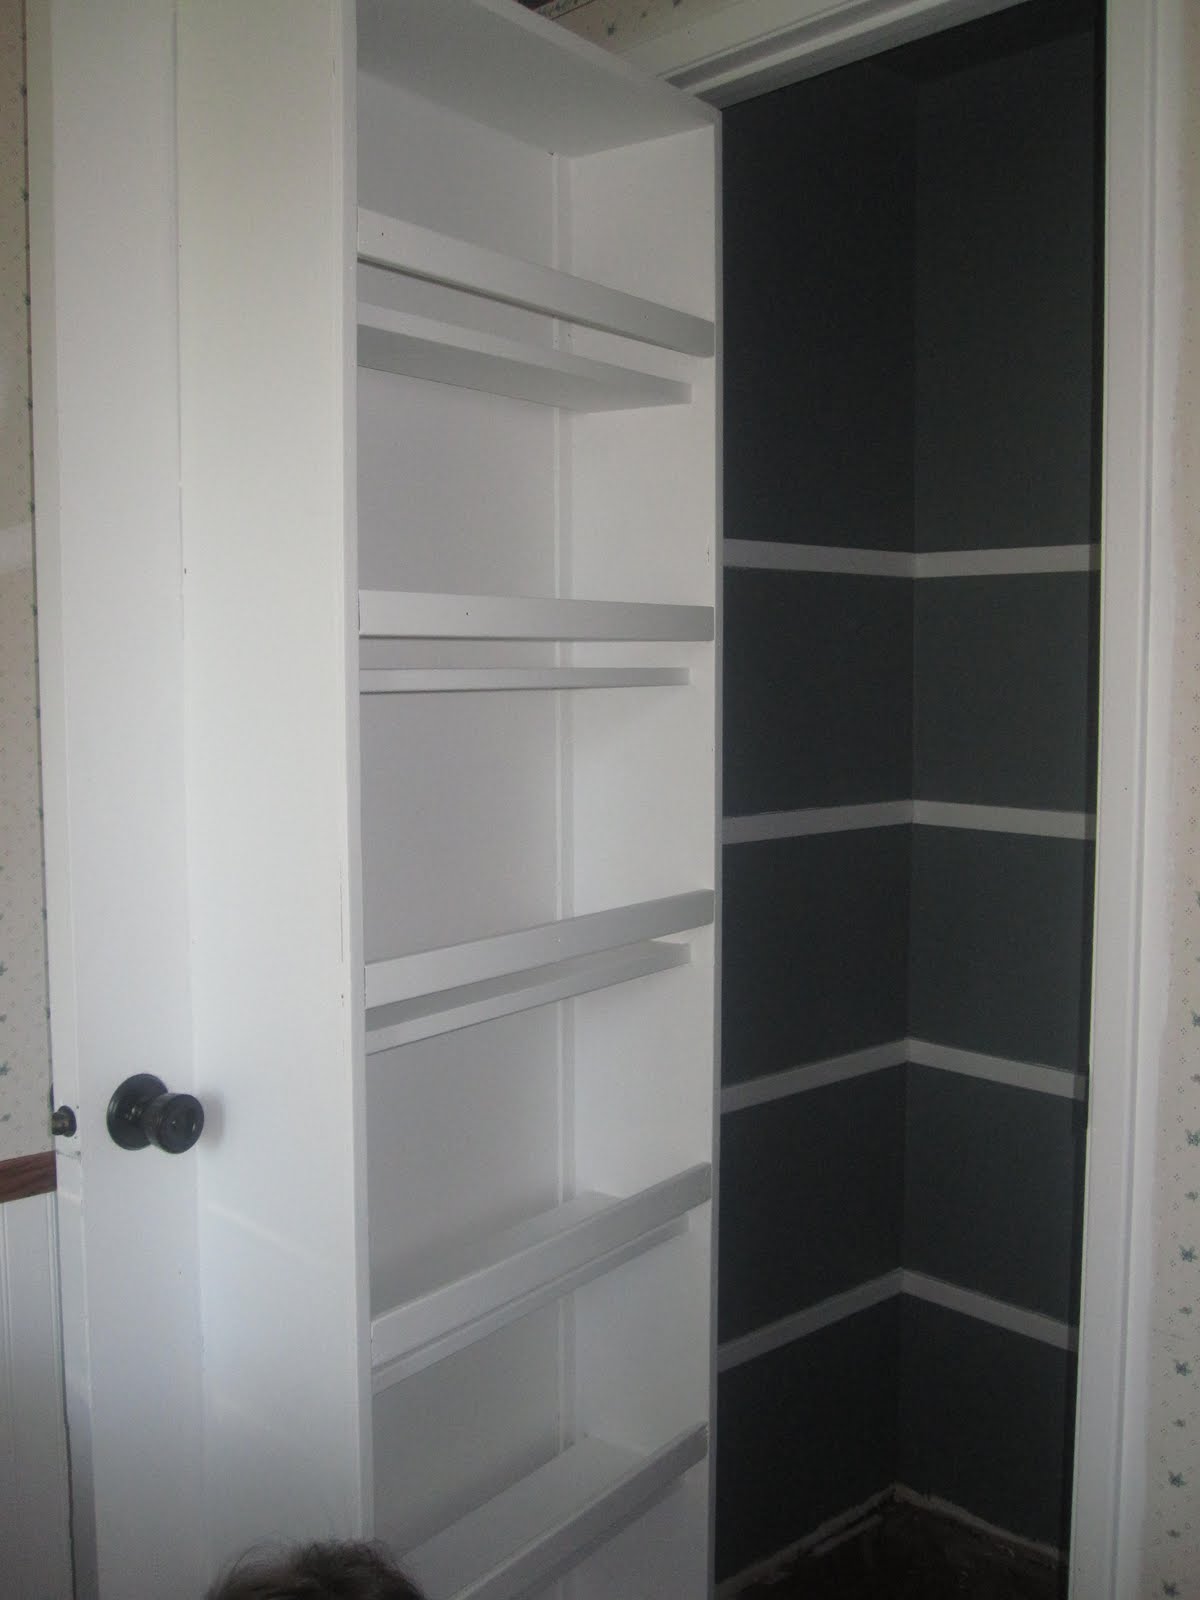
Oh, and p.s. I know, I still need to finish my pantry! hahaha

My sistah from another mister...

Literally, she is my sister from another Mister =)...


This weekend we celebrated my half sister, Callie's, 30th birthday. Her husband Erich planned a surprise birthday party for her and my job was to keep her busy while he shopped and planned for the party. Keeping her busy for the day consisted of a day in Seattle at Ummelina's spa (a little piece of heaven for sure), lunch and a little shopping at Nordstrom's. Ahhh...not even the rainy weather could dampen our moods that day.


Pacific place after our 3 hour spa experience. Do we look refreshed?
So, for those of you who don't know the story, it is a pretty awesome story, I have to admit. Callie and I met for the first time in April of 2009. I was adopted at birth and reunited with my birth mom (Boots) in October of 2008 and that is when I learned that I had a sister. I was raised with 3 other siblings, who were all adopted, it was still so awesome to learn that I had a sister who I shared the same gene pool with me =)
Callie and Boots

Everyone has a journey in their life. Mine has definitely been an adventurous one! I'm sure as you follow along with me and my blog (and I hope you do) you will learn a little more about my life and my family as we go, but this part of my story is worthy of a shout out on my blog this weekend.
It's funny how things have worked out; meeting my birth mom, learning I have another sister and brother, the fact that we now all live within 15 miles of each other today is crazy, don't you think? Since I have known I was adopted for as long as I can remember, I sometimes take for granted that I have an adoption story that is so amazing. Today Callie is 3 days away from her delivery due date with their first baby. I feel so blessed to be here during this time in her life and can't wait to meet baby Holcomb! So, in closing I want to say HURRY UP AND PUSH THAT KID OUT CAL!

Tuesday, January 25, 2011

2011 Calendars...FREE!

So, I just finished posting my last blog post about my pantry, which now seems so boring in comparison to this fun, stylish FREE find here. I can't help myself when I have down time at night I go from one fab blog to the next and sometimes come across stuff like this!


1. Visit the site www.redstamp.com

2. pick your fave calendar

3. print out on 8 1/2 x 11 paper and love it!

Ok, now I'm going to bed...

Shelley xoxo


Monday, January 24, 2011

Pantry...slow progress...

Ok, yes, I owe you pictures of the pantry! The past week was a little busier than I had expected and I let the pantry take a back seat to my crafting A.D.D this week. I blame it on the Paper Muse honestly. I was working on other projects and kinda forgot all about my poor lonely, pathetic pantry.
Here is the progress so far. Just so you know I'm not totally slacking! =) Still so much more to do though...
OBVIOUSLY! =)

Just a little reminder {more for me than you} what it looked like before I started...
Lovely, I know.

And here we are today. Remember, this house is 35 years old and had the smell of a 35 year old pantry {which is why we never put food in there until now}!

I started with TSP solution, scrubbing the HECK out of the walls, shelves and door. Then primer, more primer, primer, topped off with more primer before painting a few coats of Valspar "Bistro White". The inside of the pantry received a few coats of Martha Stewart's "schoolhouse slate".

{So totally in love with that color by the way}


We are still working on making a decision of how we want to arrange the shelving and organization in this new pantry. I first I thought about ripping out the shelves on the door, but now I can't imagine NOT having them there. It's awesome and adds so much more storage!


It's killing me! We are so close to having our food out of the laundry room and into the the pantry! So, I couldn't help myself...
I put a few pantry items on the shelves just to get a little "fix". Yes, I'm sick like that! I'm also the girl who buys a cute top for me or an adorable outfit for McKenna and puts it on as soon as I get home, even if we don't have anywhere to be! I'm so impatient, I just have to see it NOW! You all know what I'm talking about...
Also, I did buy this awesome drawer/cabinet non slip, gripper, plastic stuff from IKEA. It comes in a roll and you cut it down to size. It's clear with little round grippers so every time the door opens and closes the food won't go sliding around. Yes, I already cut that all down to size and it's all put in it's place in the door! Woo hoo. Now Brian and I just need to agree on shelving. haha...that's a blog post in itself =)


Saturday, January 22, 2011

Paper Muse...a little piece of heaven

So, you would think I had no life or at least was a total slacker because I managed to make it to a gorgeous paper store in Sumner called the Paper Muse 3 times this week! Let me be clear, that was three times in a row. Thursday, Friday and today! That's right people...3 times!

I am so inspired walking into Cammie's store. It is a plethora (I like using big college words once in a while) of gorgeous paper, stamps, stickers, ink and soooo much more! If you are local {Bonney Lake, Lake Tapps, Sumner, Auburn, Puyallup area} you HAVE TO check out her store! It's amazing! And who doesn't like supporting local small business' right? =)

So, I couldn't help but to be totally inspired to create new projects each time I went into her store. I have done 2 projects since walking into her shop on Thursday for the first time. Oh, by the way, she now has a blog. She just started it so it's still under construction, but check her out and become a follower of the Paper Muse in Sumner, WA.
So, here are the two little projects I did since Thursday. I know, I know, I should be working on my pantry, but you will learn I have Crafting/design/project A.D.D!!! I can't stop it!!!!

{Just so you all know, I have made progress on my pantry for those wondering. New pictures to come soon}
Thank you notes.

Without the glittery edges...

With the glittery edges:


I used "Stickles" glitter glue. By far the best glitter crafting glue on the market. {IMO}

All products except for the paper cutter, black ink and paper adhesive came from the Paper Muse

The products I used:

1. Stickles glitter glue. Soft gold.
2. One 12x12 sheet of patterned paper by Webster's pages seaside retreat line "hide & seek"
3. Two sheets of heavy, cream card stock for the journaling block.
4. "{thank you} stamp

Oh, I also used a small black ink pad to ink the edges of the paper to add a little distressed look. I don't have an envelope template so I just cut the paper to fit some cream envelopes I already had.
This is the easiest little project ever and who doesn't LOVE getting a handmade {they don't have to know how easy it was} thank you card in the mail!


The 2nd project!
Monogram Canvas
{16x20}

Love this one soooo much!

Cammie has a line of specialty paper that are great for, well, just about anything your little heart desires. I walked into her store on Thursday and immediately fell in love with this vintage alphabet paper that I immediately spied hanging from the ceiling. The texture is almost like cloth. It came in a piece that was 19x27. So Amazing! I can't stand it!

So, I bought the paper {$6.25} went to JoAnn's, bought a plain artist canvas that was 40% off {final price $9}went home cut out our monogram "H" on the cricut and decoupaged that gorgeous paper right onto the 16x20 canvas with the "H"! And Wa La! A monogrammed canvas for just over $15!!


Sorry the pictures aren't the best, but I hope you get the idea!
{i'm working on my husband to get me a new camera!}

Have a great night and thanks for keeping up with me! Now go create something! =)
Goodnight.


Wednesday, January 19, 2011

Challenge: Woodstove in the living room?

What do you do with this? I mean, yes, we bought a house that is 35 years old. We knew we would have challenges and on a budget we had to make decisions on where our money should go first. Since this sweet little wood stove is the main heat source for living, dining and kitchen area it stayed. Now it was just how to help it blend in with our style and not be such an eye sore =)
Before


Look at those wierd walls going down the hall! Oh yes, we have challenges! also, don't ignore the beautiful green door...that is the front door. Another challenge we have is that our entry way is directly into our living room {our main living space}, but this IS about the woode stove...so, let's get back to it.


The first thing I did was paint the brick white (obviously, right?). I LOVE white brick! Our house in Milwaukee had a fireplace in the dining room and it was white brick from floor to ceiling. It's so urban and modern, but warm enough to still blend with the style of this tiny little craftsman house that we call ours now =)

This picture was taken before Christmas so the "merry Christmas" stocking hangers are not there anymore and niether are the votives. We are replacing the sconce lighting or maybe just spray painting the fixtures and replacing the glass Align Centershades. Not sure yet.


After

{So Whaddya think?} I'm still planning on painting the gold around the door of the stove. The ceramic tile that eye sore sits on, well that is debatable. We aren't quite sure how we would get the tile out from under the stove. Suggestions?

The "H" I purchased from Michael's {after 50% off coupon $3}. Craft paint from Making Memories for paper. cream/beige. I decopauged the scrapbook paper. I loved how nuetral and organic is looked and it tied in with the green "nona" wreath next to it.

The cool water color of branches in snow was from my mother-in-law. She gave it to Brian a while back and it was passed down from his uncle. It's very cool in person. I actually LOVE how simple and clean it is. Goes great with the green wreath and the green in the "H"


I made the green loop wreath from Emily Jones tutorial. Just one of the many tutorials I have actuall done from that girl. I had an empty black fram and this super cool black and white ribbon. =)


You can find the tutorial for this sweet little "Nona" loop wreath here:http://jonesdesigncompany.com/tutorial/nonna-wreath-tutorial/


Oh, and remember that ugly green door?

Not green anymore!!

Painted the front and back side a Black (Satin) and it literally changed the whole look of the front of the house! Some people were bummed the "green door on the street" was gone. Yeah, pretty sure I didn't feel bad about painting it black =) The coat hooks are from IKEA. Don't, I repeat don't buy these from Home Depot or Lowes. $20/each at those stores. $8 from Ikea and the finish is sooo much cooler from IKEA.

We are replacing the door handle =)

Stay tuned. More to come on the Pantry rennovation =) I'm at a stopping point until my main squeeze (Brian) can make the trip to Lowes to get the lumber and base board/moulding for the that project. Have a great night and thanks for keeping up with me! =)


Tuesday, January 18, 2011

Some FAB gals, ideas, inspiration and tutorials

Since becoming addicted to this new {to me} blogging world in the last year I have found so many inspiring blogs. So many crazy talented designers, interior decorators, crafters, mom's, writers...you get the point. So, I want to feature some of my favorite projects from other amazing bloggers and their blogs every week.

Since I am still stuck in my mission pantry project I want to share a few of those with you right now. The first one is one of my faves. The one who totally inspired me to get started on my own blog. I have done multiple of her projects and LOVE how simple and beautiful they all are. Not to mention, she has great wardrobe style to boot! So, enjoy browsing through these gal's blogs and follow them. You won't be sorry you did.


I know, I know, I've posted this picture before, just humor me and look again! =)
Here are a few other links from her site:
http://jonesdesigncompany.com/decorate/my-office/


Her office remodel. Gorgeous! My friend Mel is in the process of doing the painted wallpaper in her office also. She will be posting to her blog when she is done.

A couple of tutorials :
I have made this book page wreath 3 times and each time I love it even more!


Her business.
ridiculously cute name prints and art prints!


Ok, now another gal that I am in love with. Not just because we share the same name, but because she, also, is so talented and also so real when she blogs. My favorite post was the one on her pantry remodel. Another inspiration for me, but the list goes on and on.

Just check out her site. You can't help but to be inspired to run out to whatever craft/home store you love and start a project!

Shelley Smith


So, here is where I knew I loved her!

The beadboard ceiling!

In the 3 bedrooms we have there is ugly popcorn ceiling. So, instead of taking on the messy task of removing the popcorn ceiling we decided to install beautiful bead board on the ceiling. So, we made this decision a couple months ago. A couple weeks ago I came across Shelley's blog and saw this step by step tutorial on how they installed the bead board on their bathroom ceiling! Yay! I love her already!
Isn't this bathroom so pretty? This is what our bedroom ceilings will look like soon-ish!


Her super sweet hanging rose ball tutorial. Great idea for hosting a baby shower, Christmas or just anywhere in your home that needs a girly touch.

http://houseofsmiths.blogspot.com/search/label/Hanging%20Rose%20Ball%20Tutorial


So, take some time and browse through these gal's blogs! Be careful, before you know it your husband is home from work and you are still in your jammies with your 4th cup of coffee looking at blogs! Not that this happened in our home...just looking out for you girls! {or guys who are reading}